Saturday, June 19, 2021

A sewing tip to avoid mistakes

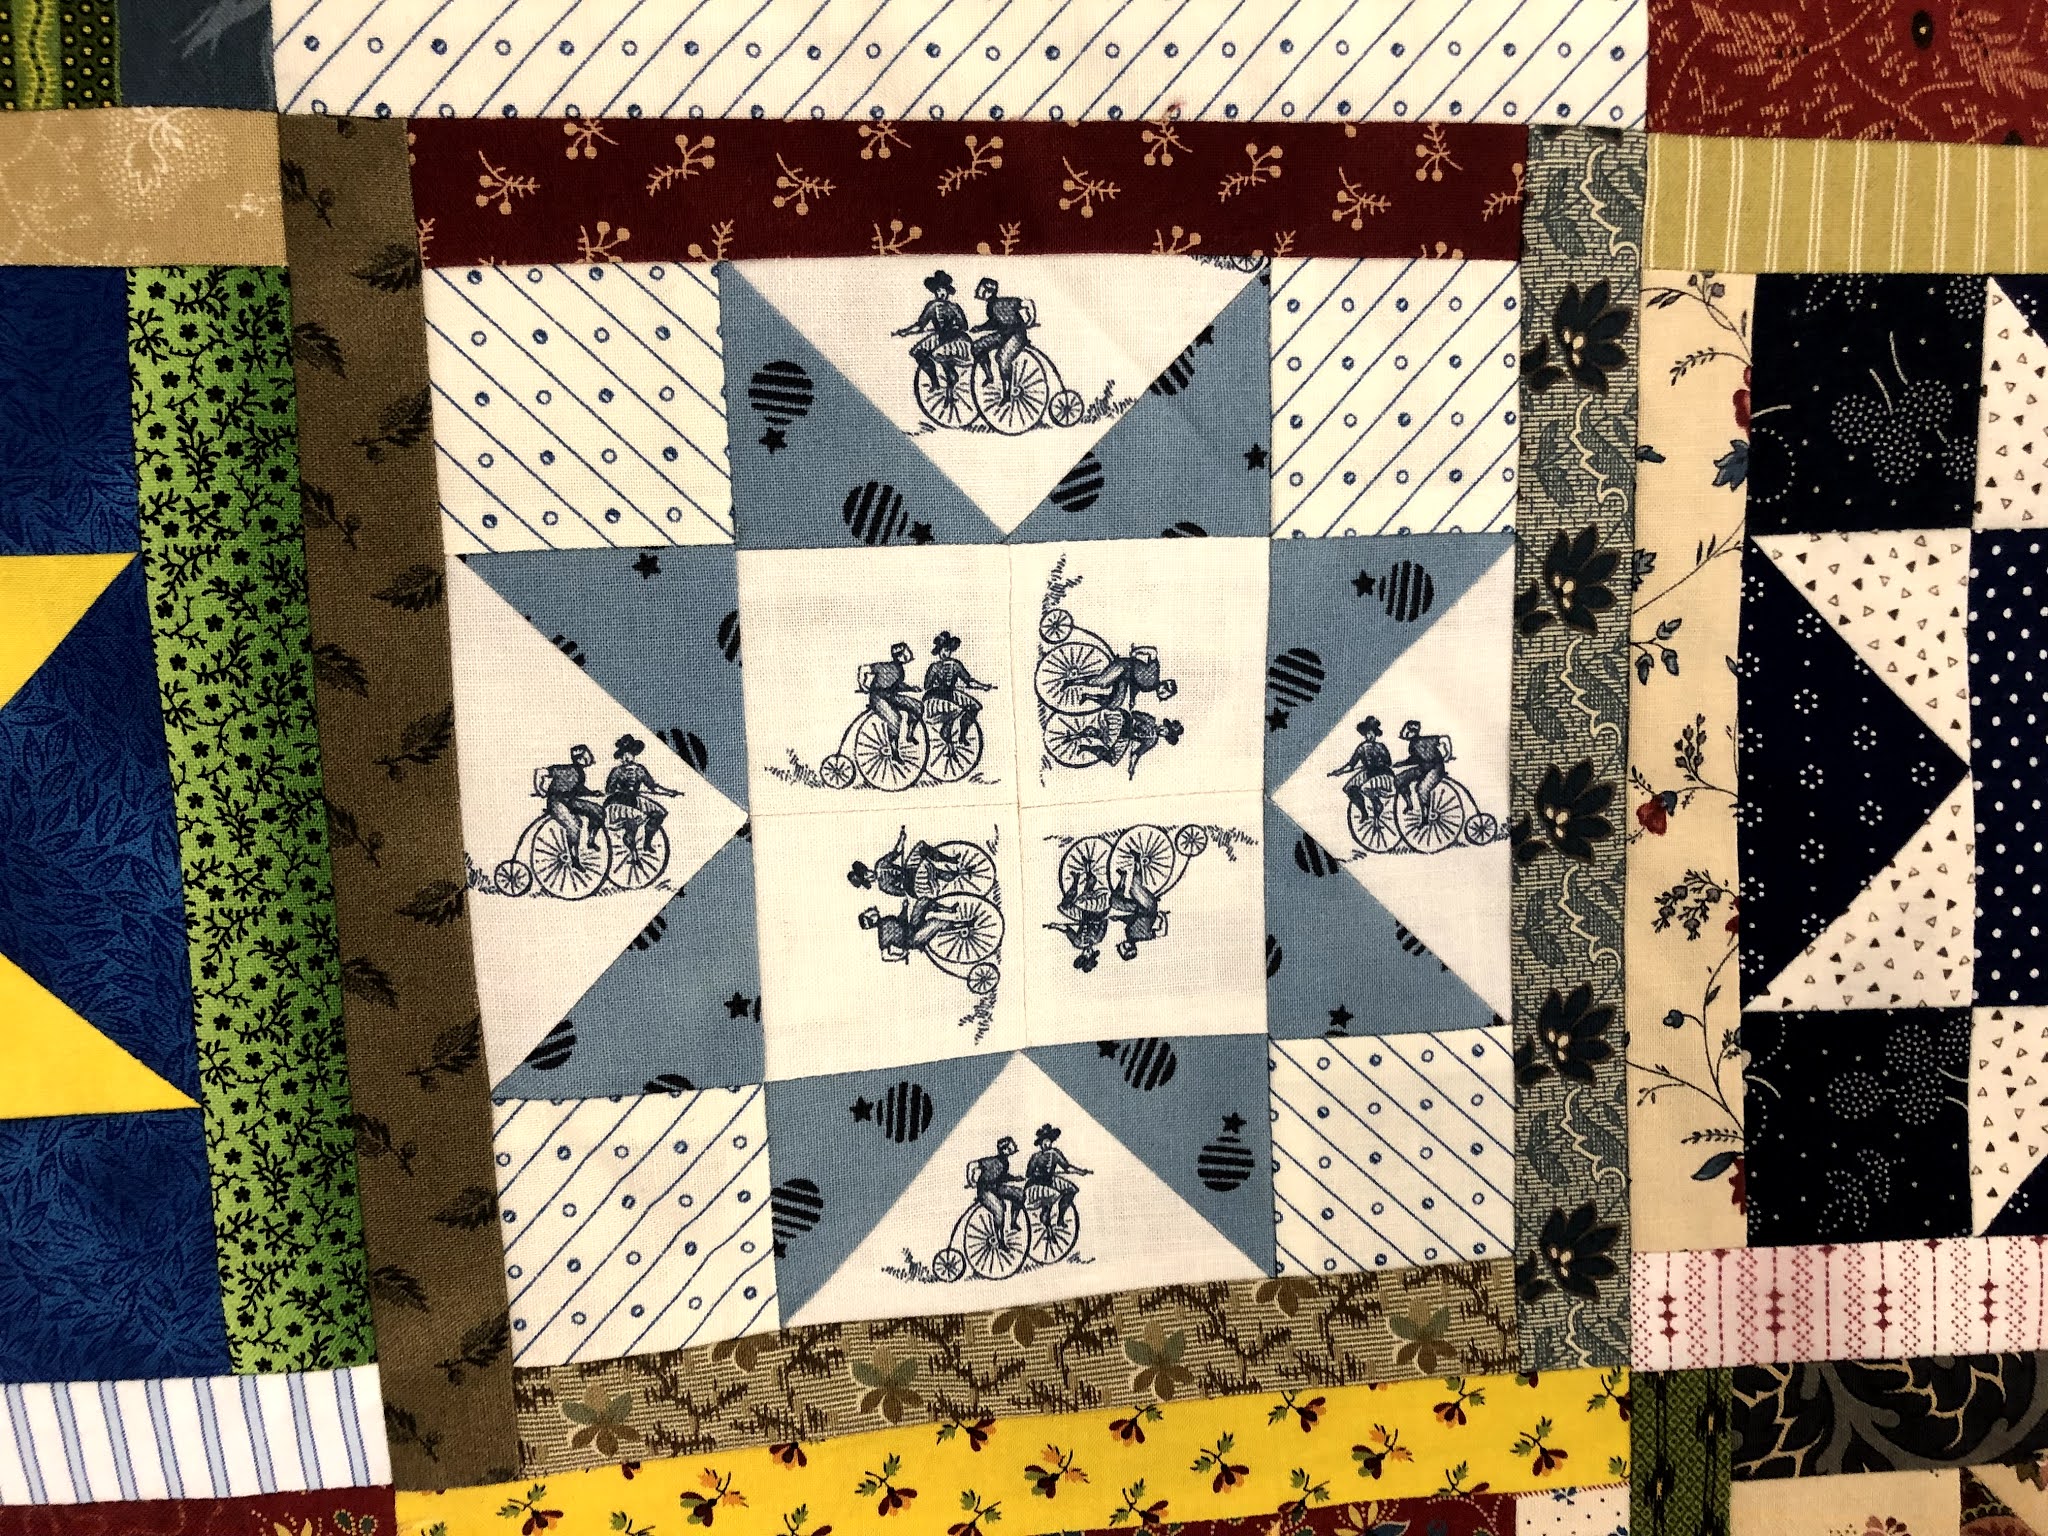
Hope you saw the previous blog. A sawtooth star. A typical block with 16 squares. Believe me, a few times I have made mistakes like putting a tot (tone-on-tone) white square with the wrong side towards the other piece and sewed them together. If you notice that when the whole block is done ... it is not a nice moment. 

So, here is how I sew my blogs together. I always lay my block out on a mini "design wall" and place it next to my machine. It's nice when you can carry a block in parts like that from the cutting table or ironing table to the sewing machine.


I made a video so you can see what I mean what I will try to explain. I have never done a video like this and it is rather amateurish. I had to prop the camera up and hope it would not fall down when I got it going. I hope you see what I mean and will not laugh too much about me. Well, on the other hand, if I can give you a good laugh that probably would be good. We all need that once in a while. 

When you look at this block you have 4 rows from top to bottom and you have 4 columns from left to right. In the video you will see that I turned the second square in the first row over the first square and sewed them together. DO NOT CUT but immidiately do the same with those two from the second row, and third row, and fourth row. They will all hang together.

I saw onto a little swatch then and cut what I have just done off. I think they call that swatch "thread bunny" these days. My mother used to do it when I was a little child in Germany but I don't think it had a name. 
Ha-ha, I thought I had written about my mother doing that because I had never seen anybody do this her in the USA. All those videos from professionals and all those hanging threads (if you don't have one of those fancy machines). Just found it: Blog from December 9, 2014

So you have the squares from all 4 rows from column 1 and 2 now hanging somewhat together. Take the top one from the third column, turn it over on top of the first one from column 2 and sew them together. If you are chainsewing more then one block at the time and leave that thread bunny attached you will always know which is the top.
Keep sewing the squares from column 3 to column 2. Sew unto another thread bunny and cut off. 
Now do the same with column 4. You are done with all 16 squares ... somewhat attached to each other.


You still have to sew the other way. At this point you have a choice. I take it to the ironing table and press the seams to alternating sides. Or you could fingerpress while you sew the rows together into the other direction. 

Sewing those rows it pretty easy. The intersections usually nestle nicely into each other.

And here is the VIDEO     (6.09 minutes)

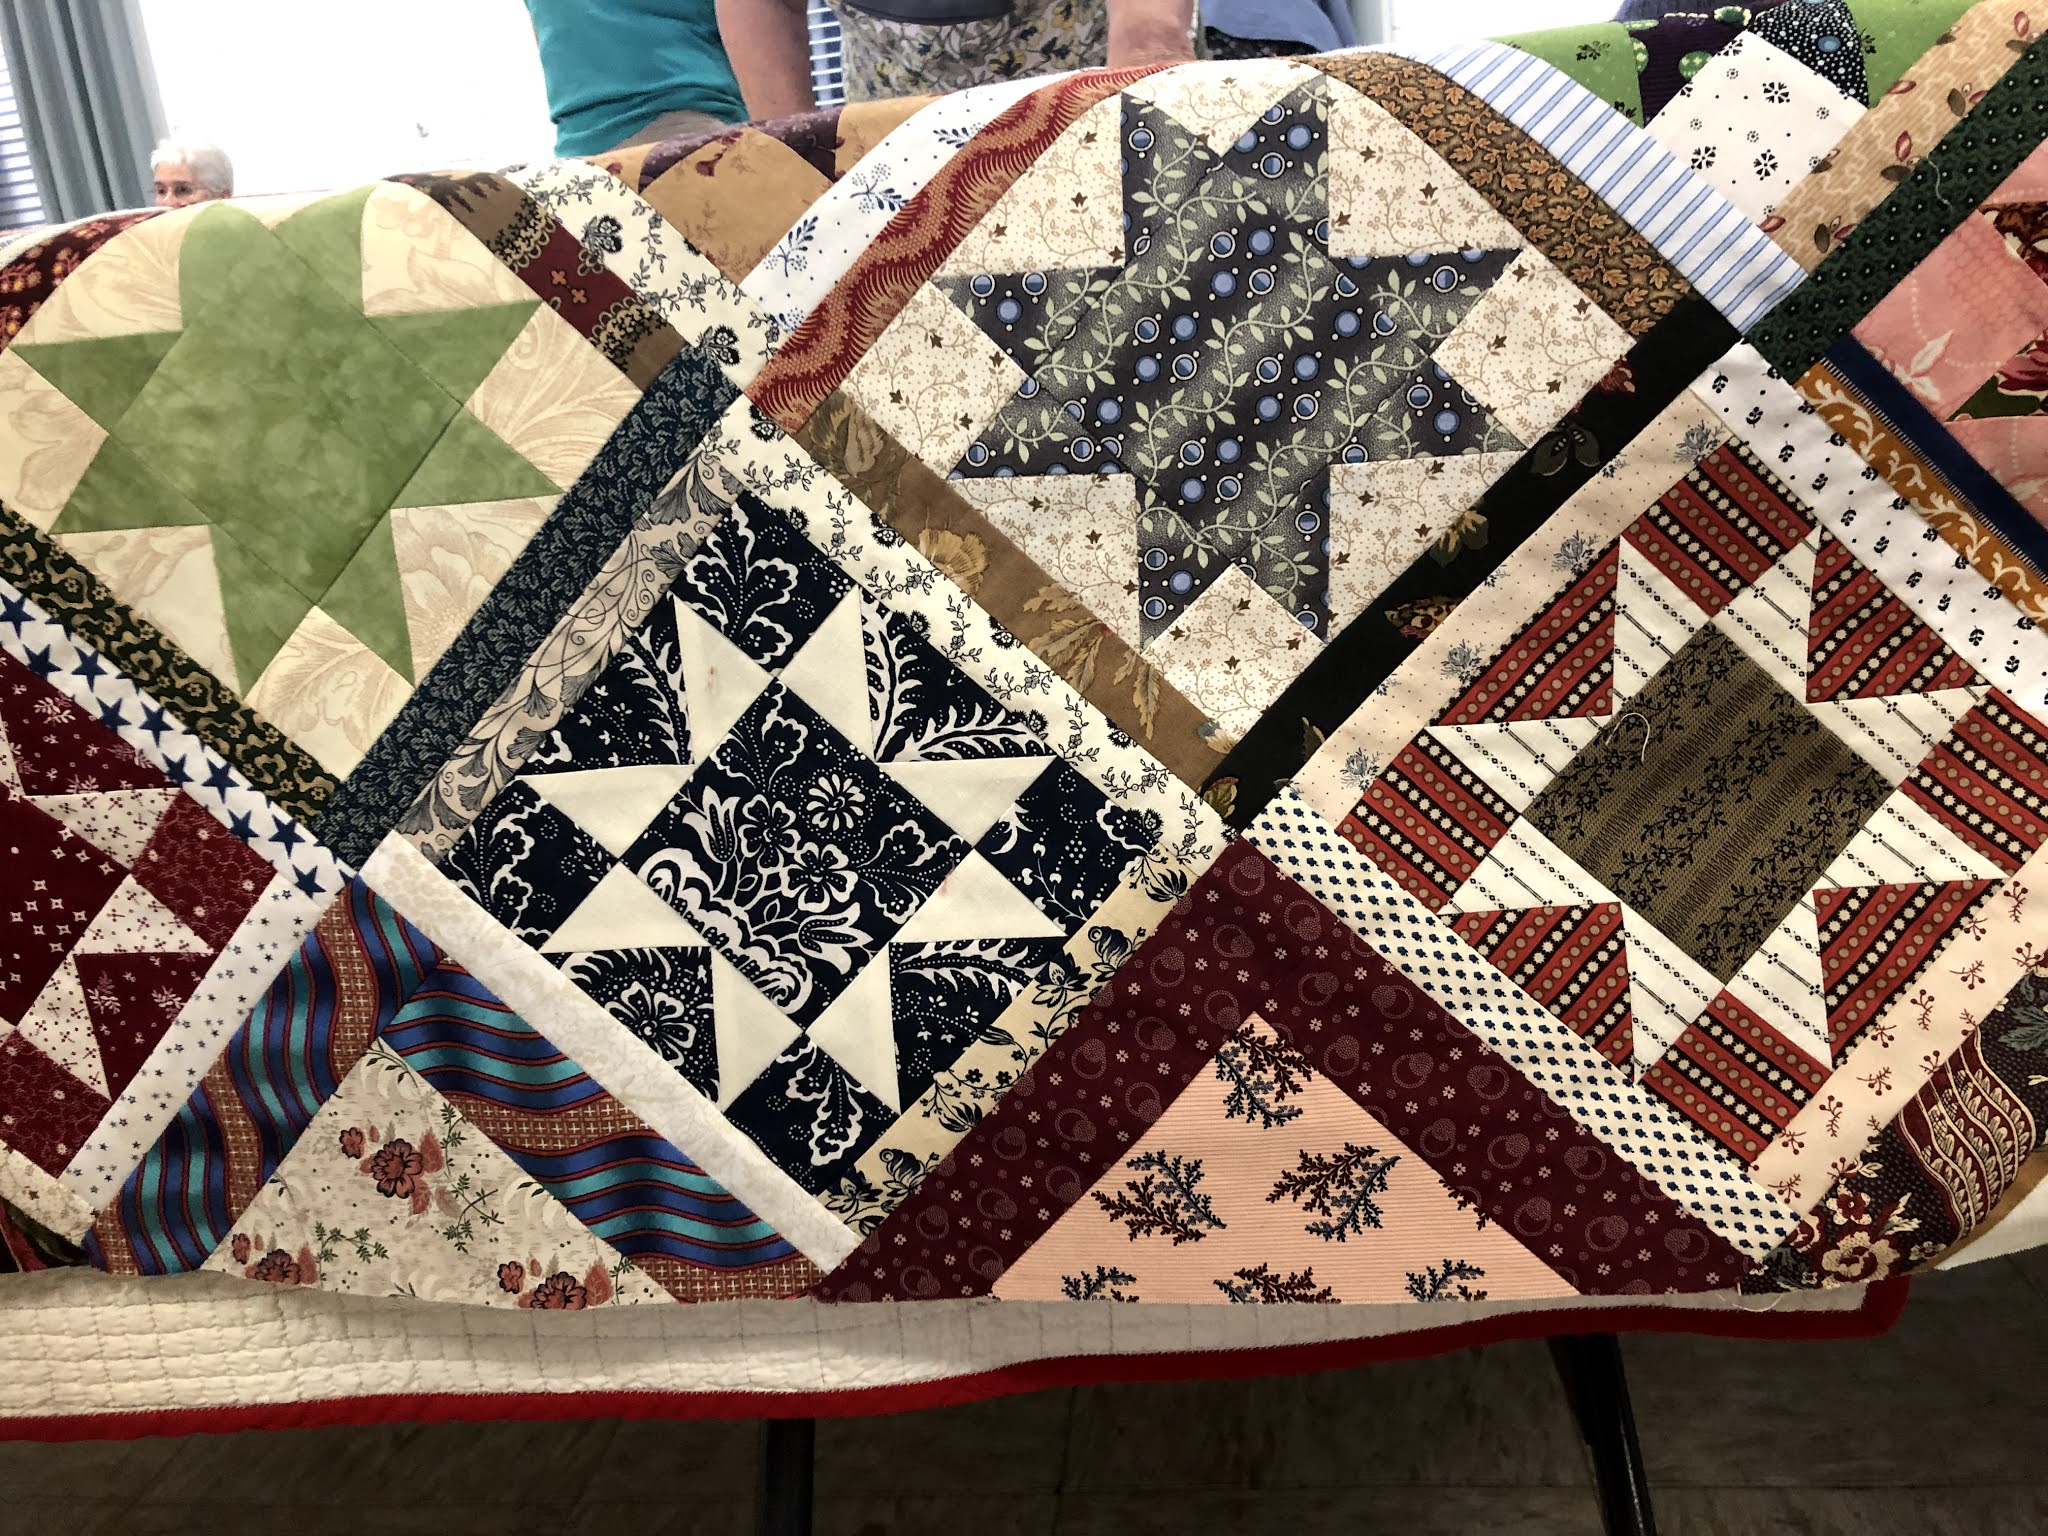
And then you are done. Well, a real good pressing. Are you checking whether it is exactly the size it is supposed to be? I like doing it ... and petting myself on the back. It is so important. 

I hope I explained that good enough. I would love it if you left me a comment at the bottom. May be you have a suggestion how I can make it clearer. I also might have re-invented the wheel but I have not seen anybody explaining this method before. But than, the internet is large.

*   *   *   *   *
Several week ago feedburner informed me that they would discontinue some time in July mailing my new blogs to those who had signed up. I have no idea whether they already stopped or not. I have an alternative way to mail them but you have to let me know that you would like to receive them. 

Have a good day, sewing or not!

I am on a roll

I am having fun thinking about what the next months' BOMs for the WE Quilt Group could be. Of course July BOM is any star with patriotic fabric. I decided to play with the Sawtooth Star block.

There are many Sawtooth Star block versions on the internet. Lots of free patterns. Some use 4 'flying geese' and some 8 HSTs. I choose the latter this time.

But they are very simple to do. Since we are making 12" finished blocks and the star is in 4 sections: 12 : 4 = 3     Each section should be finished 3" which means each square neads to be 3 1/2 x 3 1/2 

First I made the HSTs. Since I need 2 blocks for the BOM I used the 'HST - 8 at a time' method. You can also find that link on this blog if you click on the 'Quilt Tutorial/Pattern' tab on the top. 

To make 8 at a time I used:

1 white 9" square and 1 red 9" square

1 white 9" square and 1 blue 9" square

1 red 9" square and 1 blue 9" square

Make sure you trim each neatly to 3 1/2 x 3 1/2 inches. Perfect squares and perfect 1/4 inch sewing foot make for a perfect block.

Of course you also need the white corner squares ... 8 for the 2 blocks. Easy peasy. 


Play with the lay-out!


Or give each of the 4 in the middle a half turn. Wind mill style.


How about this version?


For the Split Star block you need 2 different squares = on red and one blue.


And of course your selection of fabric will make a big difference too.


Friday, June 18, 2021

Not much sewing going on lately

... but it seems it is picking up. In May I made the May and June quilt blocks for Quilt Block Lottery. Since I don't seem to have the time for a large project and don't feel the peace to work on one of my UFOs its the perfect project. It is something on Facebook. You can click on the name above.


Now started the July block but came to a screaching stop because I wasn't sure about my fabric selection.


The WE Quilt Group (West End chapter of the Richmond Quilt Guild) had at the May meeting decided to start a BOM. (The link is to our FaceBook site) Here are the "rules":

-   Each member who wishes to participate should make two blocks (set) and bring them to the meeting. 

-   Blocks will be collected at sign-in, one to be used for charity quilts and the other to be raffled off.

-   For each two blocks (set) a participant brings she will receive a raffle ticket.

-   Of course you can bring only one and add it to the charity pile. No raffle ticket. 

-   These are volunteer hours.  Please keep track and record on our sign-in sheet at each meeting.

I was quite excited about this project and even volunteered to be the coordinator. 


In my eyes it was a big success. We got 27 charity blocks and of course the winner got about the same. My friend Janet had volunteered to be the "June block assembler" and she did that at the Thursday Stitchers (another charity sewing group we belong too). These are most of the blocks on the design walls for two quilts with sashing. The photos are a bit two yellow as you can see from the above blocks. But isn't this cool? 
Oh, I probably should have said that these quilt go to the Stitchers who quilt the quilt tops which are made/donated and pass them on to many different worthy causes. 


The WE Quilt Group was on Tuesday this week in the morning and the Country School Quilters met in the evening (postponed from a week earlier because of the voting date). I almost didn't get to go but it was so worth it. The program was by Becky, one of our members. She is a very accomplished quilter. This time it was mainly about the sawtooth star pattern. We oohed and aahed  about her many quilts. I fell in love with this quilt especially.

Every single block was so interesting. Of course scrappy quilts are my favorite anyway. Just look at the following photos.


More of her sawtooth stars but a project in progress. A very interesting setting. That's what I like about these two groups. You learn soooooo much.


Now if I only could find the time to create something pretty myself ... or finish my UFOs (unfinished projects). At least one?